
Access Cochrane Library:
From the A-Z Databases list on the Library homepage, select Cochrane Library.
Cochrane Library is a collection of databases that contain high-quality, independent evidence to inform healthcare decision-making. These databases are: Cochrane Database of Systematic Reviews (CDSR), The Cochrane Central Register of Controlled Trials (CENTRAL), and Cochrane Clinical Answers (CCAs).
View steps to search the database by clicking on the links below.
Advanced Search
The Advanced Search screen offers more ways to search by abstract, titles, keywords ,etc. and offers Subject Heading mapping.
Step 1. Select Advanced search at the top right corner of the page.

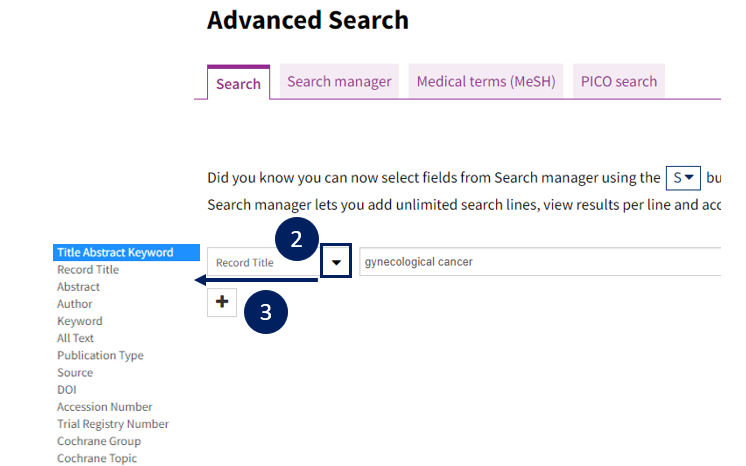
Step 2. Under the tab Search, type your search term(s) in the text box. The default setting is searching title, abstract and keyword. Use the pull down menu to indicate the search field to search for your search term.
Step 3. If you want to search two fields together, add another search row by clicking the + icon.
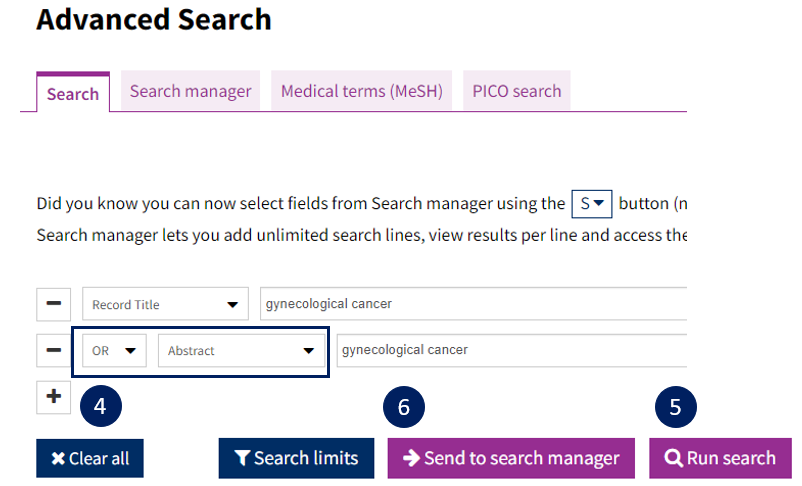
Step 4. For the new search row, type in the search term in the box and use the pull down menu to specify the search field. Select the OR, AND Boolean operator to link up the two search rows.
Step 5. Select Run search. Search results are displayed beneath the search box.
Step 6. Alternatively, you may send the the search directly to Search Manager. Search Manager is where you can combine your search term with MeSH term.
Search with Medical Subject Headings
The Medical Subject Heading (MeSH) search is based on the National Library of Medicine’s thesaurus of medical subject headings.
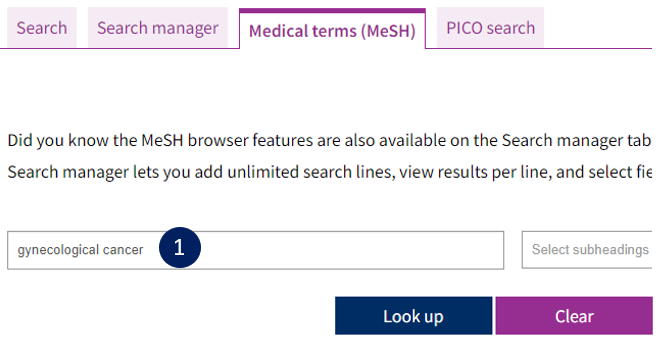
Step 1. Select the Medical terms (MeSH) tab, type in the search term and click Look up. If a Subject Headings can be mapped for your search term, a list of Subject Headings is shown.
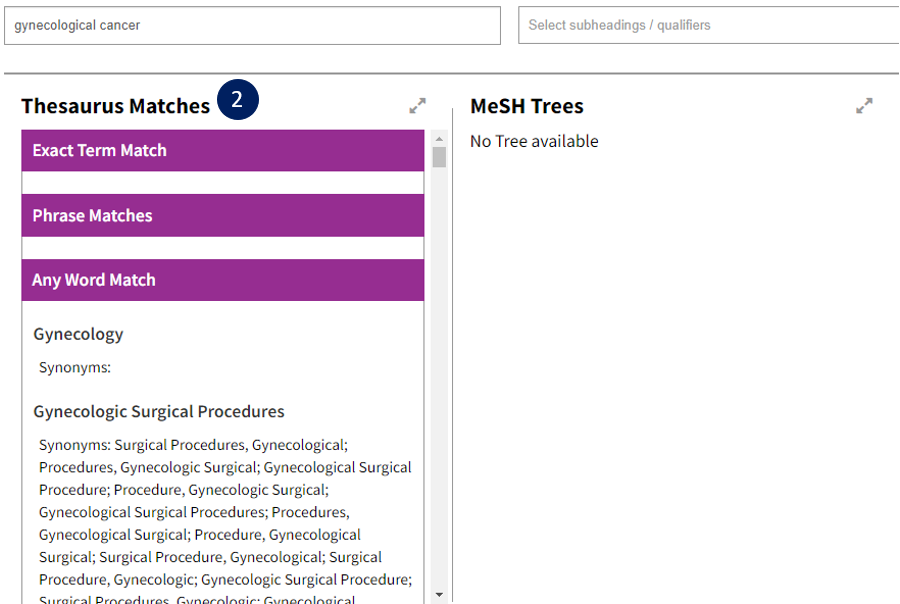
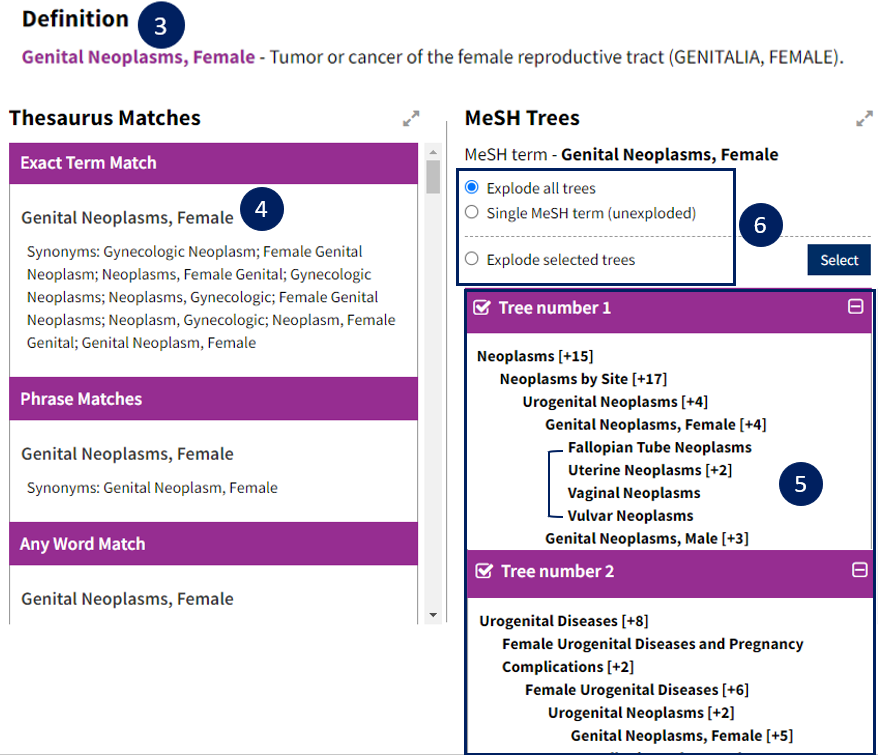
Step 2. The search term will map to a MeSH term by Exact Term Match. If the term can map to a MeSH term, the exact matched subject heading will be automatically selected. In the example below the term cannot map to a MeSH term, you will not see a MeSH tree or any results. If this happens, look for the Phrase Matches or Any Word Match instead. Choose the MeSH that is the most suitable amongst all for your search term.
Step 3. You will see a definition for your selected MeSH term.
Step 4. Synonyms are shown under each of the MeSH term.
Step 5.
Step 6. You can choose to search with a single MeSH term instead (not exploding your MeSH term), this will not include any narrower MeSH term(s).
Step 7. Click on the box Select subheadings/qualifiers. A list of specific aspects of the MeSH heading will pop out. This helps your search to focus on specific aspects of the MeSH heading that are pertinent to the article.
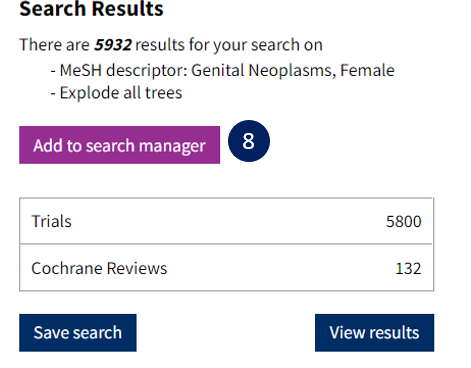
Step 8. The table shows the number of search results in total from the MeSH search. Click on Add to search manager to add the MeSH to the Search Manager tab if you want to combine your MeSH search with keyword search.

Step 1. Select the tab Search manager. The previous searches added to the manager are shown.
Step 2. Combine your searches by adding the relevant numbers of your searches, (for example, #1 AND #2) at the row #3, and click Continue. Click on the number of search results to view the results generated from the search.
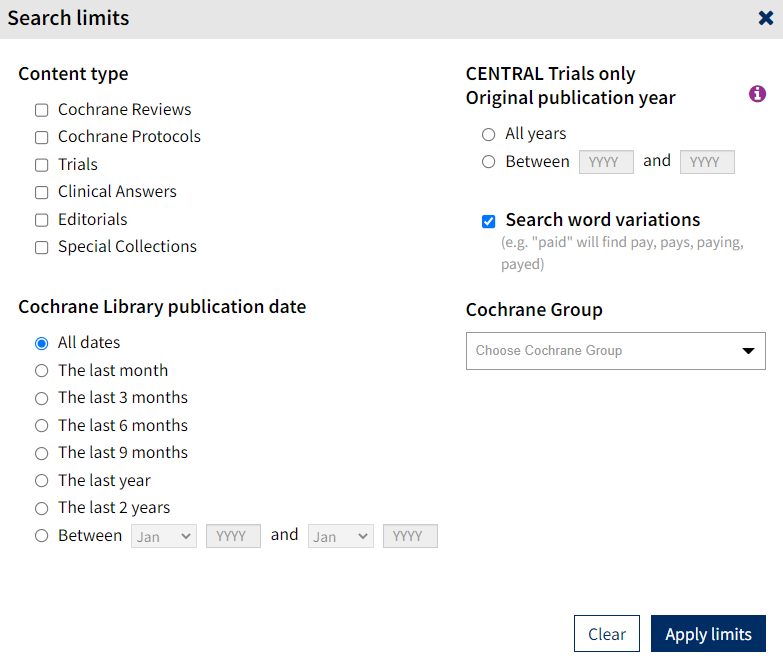
Step 3. Click on Limits to limit your search results by publication date, content type, etc.

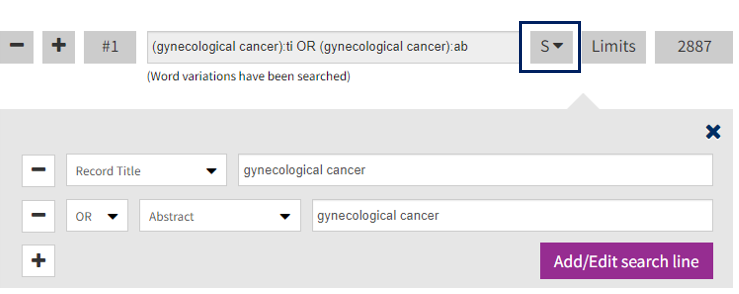
The pull down menu S allows you to edit your search directly at the Search Manager. Click Add/Edit search line after making the changes.
View Full Text & Output Results
Step 1. The top menu bar shows the search results in each database. By default, results from the Cochrane Reviews are displayed first.
Step 2. The search results can be sorted by relevancy (default setting), publication date, or record title (in alphabetical order).
Step 3. Select Show all preview to include the abstract of the article for all the search results.
Step 4. Select the relevant record(s) and click Export selected citation(s) to export to citation management tools, e.g. EndNote.
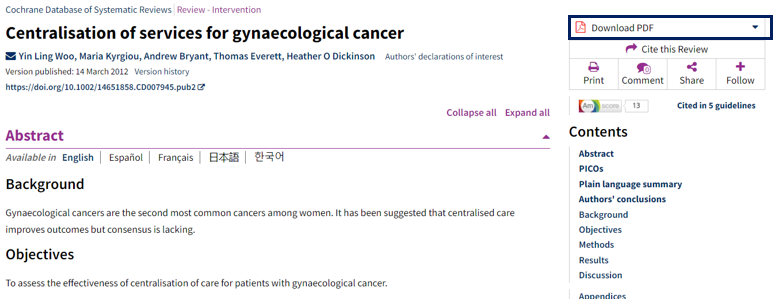
Step 5. Click on the record title to get the full text pdf of the result.

Save search & run saved search
If you want to save the search statement(s), select Save this search button (the button appears on the tab Search and Search Manager). You will be prompted to register/sign in to your own Cochrane Library account. Please note that your Cochrane Library account is registered with Wiley Online Library. It is different with the account registered for Cochrane Interactive Learning.
Give a name for your search and enter comments about the search (optional).

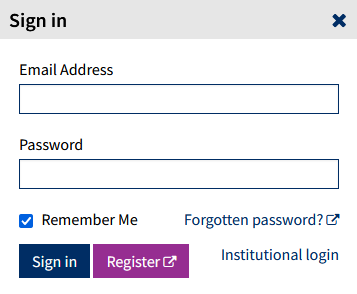
To run your saved search, select View/Share saved searches button, which appears at the top right of any of the tabs available on the platform. You will be prompted to sign into your own Cochrane account. Please note that your Cochrane Library account is registered with Wiley Online Library. It is different with the account registered for Cochrane Interactive Learning.

You will see a list of your saved search(es) and a list of options next to each saved search.
